One Friday I was at home, doing some research and writing, when I got a text from the wife: “Don’t forget, we have people coming for dinner tonight at 6.” I checked the clock: 4 p.m. We had not been grocery shopping in over a week; there was barely enough for us to have dinner ourselves that night…and I have a tendency to spread out when I’m working on a research project, so the house needed to be cleaned. I frantically tidied up to make the house presentable, and checked the clock: 5 p.m. By then Z was home, so I took the car to the grocery store.
Fortunately, knowing how to improvise in the kitchen can help on those days you’re just too busy. Maybe you’ve done nothing but run errands all day. Maybe there was a work emergency that kept you late. Maybe your spouse calls to remind you of a dinner party you’re hosting that they never told you about to begin with…
I picked up some asparagus, potatoes, and a whole roasted chicken. While the potatoes boiled, I rinsed, prepped, and sautéed the asparagus. Then I drained and mashed the potatoes, and finished by throwing together a white sauce. In half an hour, I had a roast chicken dinner that looked and tasted like I’d spent hours on it. Because of course I put that chicken on our own platter and hid the packaging in the trash. Ha!
The secret to a dinner like this is knowing the magic of sauces. A good sauce serves as a bridge connecting the different elements of food on the plate. And when you’re serving store-bought roast chicken, it adds that special “home-made” touch that creates the illusion you were a lot more prepared than you were!
There are two main types of white sauce: béchamel (made with milk) and velouté (made with broth). At their most basic, either type of white sauce is nothing more than butter, flour, and liquid – the perfect vehicle for a saucy bit of improv.
First thing to do is make a roux, which is a thickening base made from butter and flour. Over medium-low heat, melt 2 tablespoons of butter in a heavy-bottomed sauce pan. Once the butter is completely melted, whisk in 2 tablespoons of flour. Stir constantly until the mixture has stopped foaming and smells a bit nutty, but has not darkened (2-4 minutes). Add your liquid – either 2 cups of milk or 2 cups of chicken broth – a little at a time, continually whisking out the lumps as you do so. You can also heat your liquid to near-boiling while you’re working on your roux. If you do this, you can add the liquid all at once without causing lumps and save yourself a lot of whisking. But frankly, I almost always forget to heat my liquid and the sauce still turns out fine.
Once you’ve added your liquid, turn the heat up to medium-high and heat the sauce to boiling, stirring constantly to avoid burning. Once the sauce boils, turn the heat back to medium-low. Add salt and pepper to taste. That’s it. Your basic white sauce is done.
But why stop at basic? Your white sauce is a blank canvas; add some color! You could mince some fresh herbs you have lying around (maybe you’re making pesto tomorrow?) and toss those in. Dried herbs work, too. I’ve stirred a spoonful of low-sodium Better Than Bouillon into a béchamel. If you’re going to do that, though, make sure you do it before you add salt and pepper to taste. If you’ve made a velouté, try adding a splash of heavy cream or some extra butter. Maybe experiment with adding some spices, like a pinch of nutmeg or some strands of saffron. Whatever you try, add a little at a time and remember taste, taste, taste. You can always add more if you’re not satisfied with the amount of flavor you’re getting; you can’t take it out once you’ve put it in.
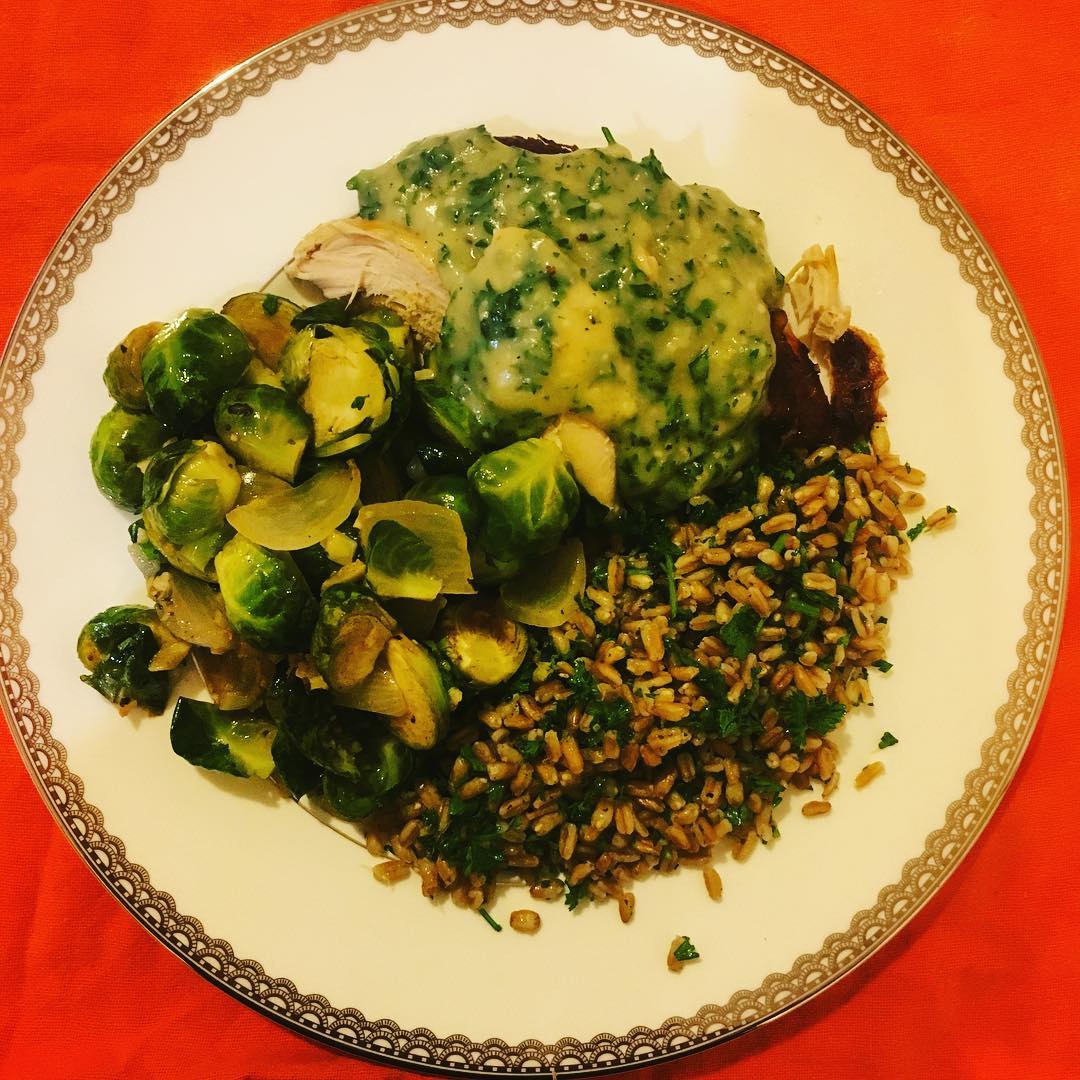
On the evening of the chicken dinner, I made a béchamel and added a little Better Than Bouillon and some dried parsley for a gravy that went really nicely with the chicken and mashed potatoes. The next day I made a velouté with a little thyme and a splash of heavy cream. Then I tossed in all the leftover chicken that I could pick from the previous night’s roast and added some sautéed onions and frozen vegetables. I made a pie crust, and we had chicken pot pie.

(Above: not the same chicken pot pie I just described)
My sister-in-law still asks me for the recipe to a hand-pie I created by sautéing onions and chunks of chicken breast flavored with South Asian-inspired spices, stirring that into a plain béchamel, and wrapping it all up in Sarah Lee frozen puff-pastry sheets. Melt some shredded cheese into a béchamel to make a sauce for nachos or homemade macaroni and cheese. If you add cheese, keep it to about 1/4 as much cheese as sauce; otherwise it becomes decidedly un-saucy.
Speaking of un-saucy, changing the proportion of roux to liquid changes the thickness of the sauce. As a rule of thumb, think 1:1:1 – 1 tablespoon of butter and 1 tablespoon of flour for every 1 cup of liquid. Play with your proportions only after you’ve made a basic white sauce enough times to get a feel for how it looks, tastes, and behaves. Have fun getting saucy!

